Overview
This document provides instructions on how to add the DynamicPoint portal v2 application to the SharePoint app catalog and configure permissions.
This must be performed by a user that has been granted SharePoint administrative rights in Microsoft 365 and has been assigned a license to the Office 365 product from within User Management.

App Catalog
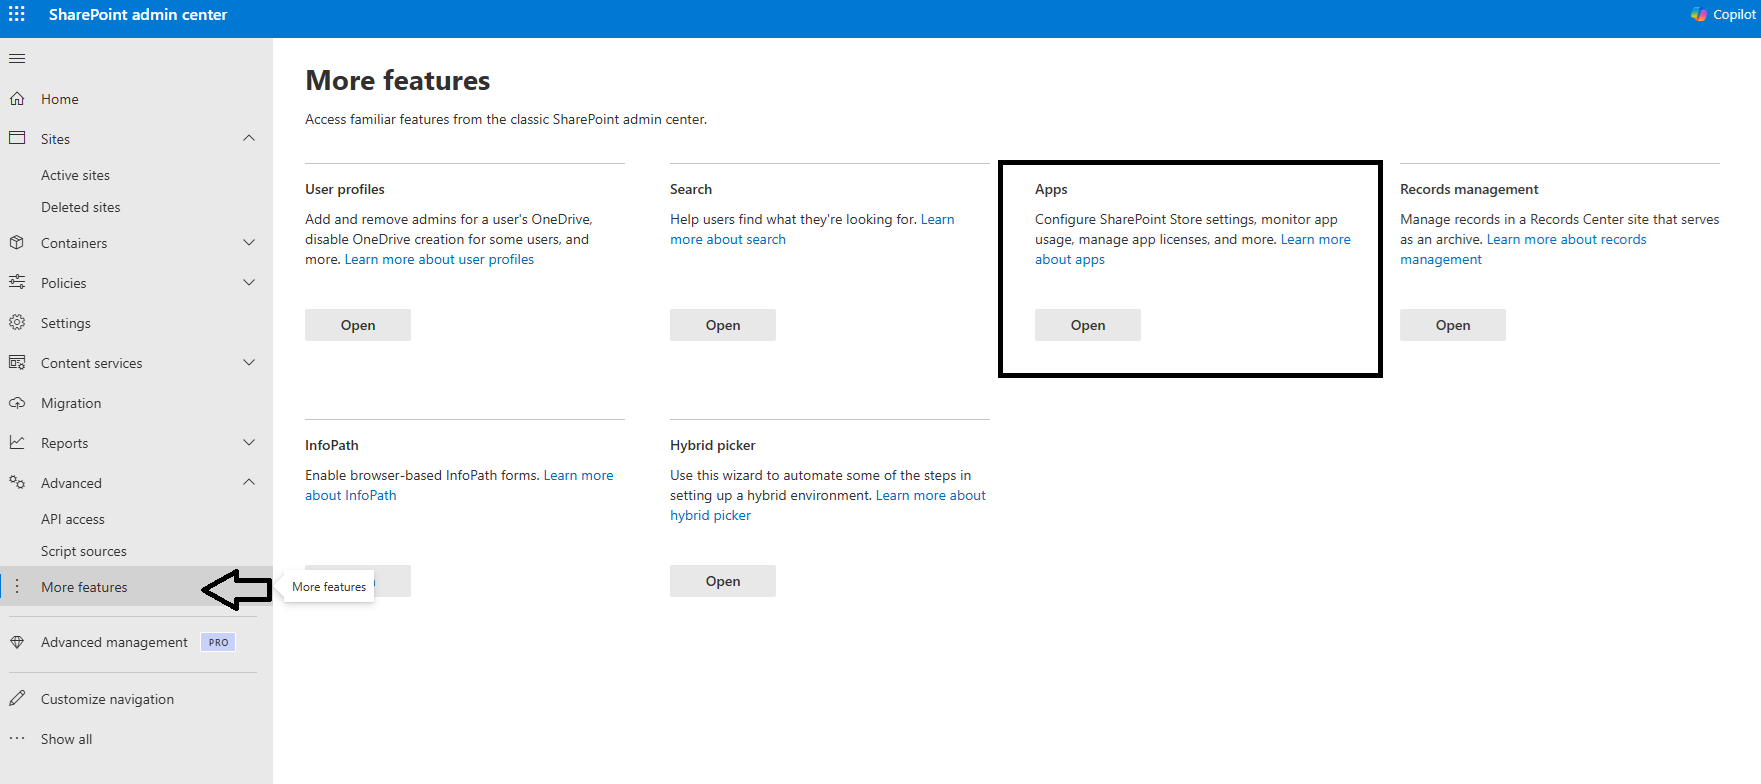
The DynamicPoint Customer/Vendor app must be added to the SharePoint App Catalog. From the SharePoint admin center, this is available from the More features section on the left-hand side.
- Download the app from this link: dp-portal-v2-us.sppkg
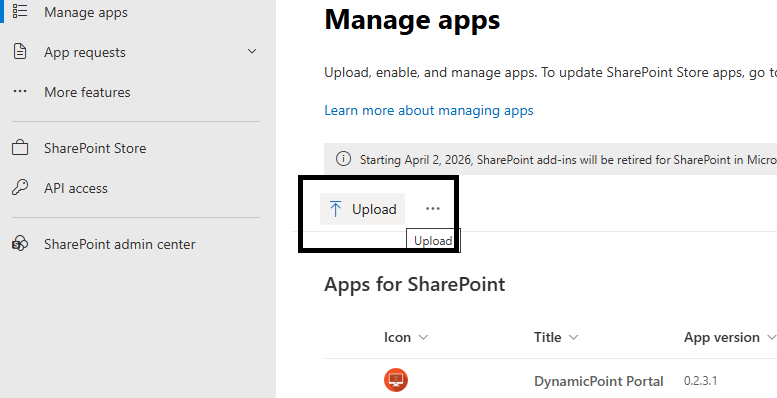
- Upload the app to your app catalog:
- When the upload completes, the following dialog appears:
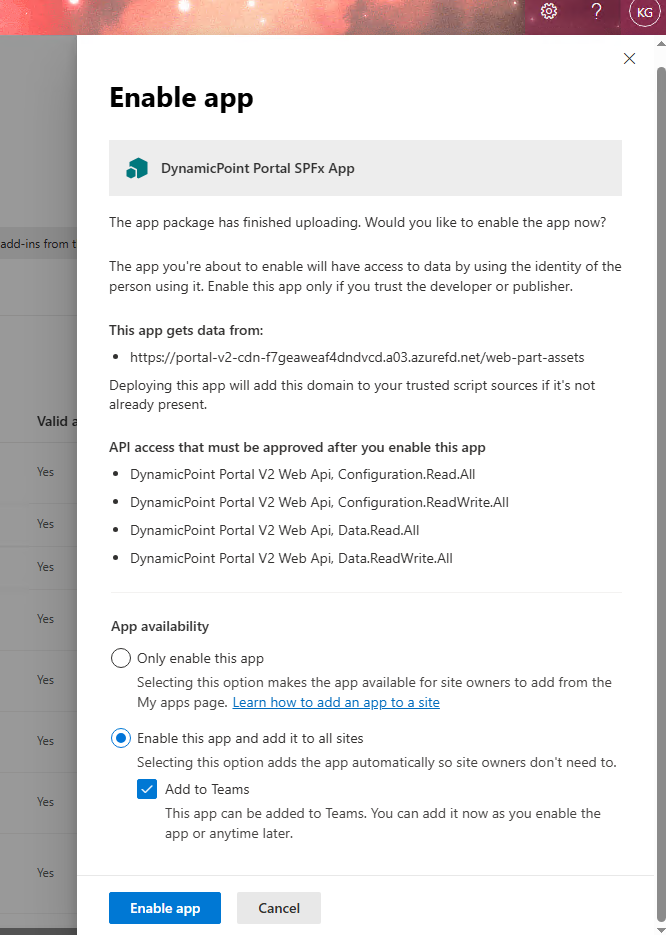
- “Add to Teams” is not required and can be unselected if desired. Leave the default option of “Enable this app and add it to all sites”.
- Click Enable App
- After the app is enabled, the following screen will appear:
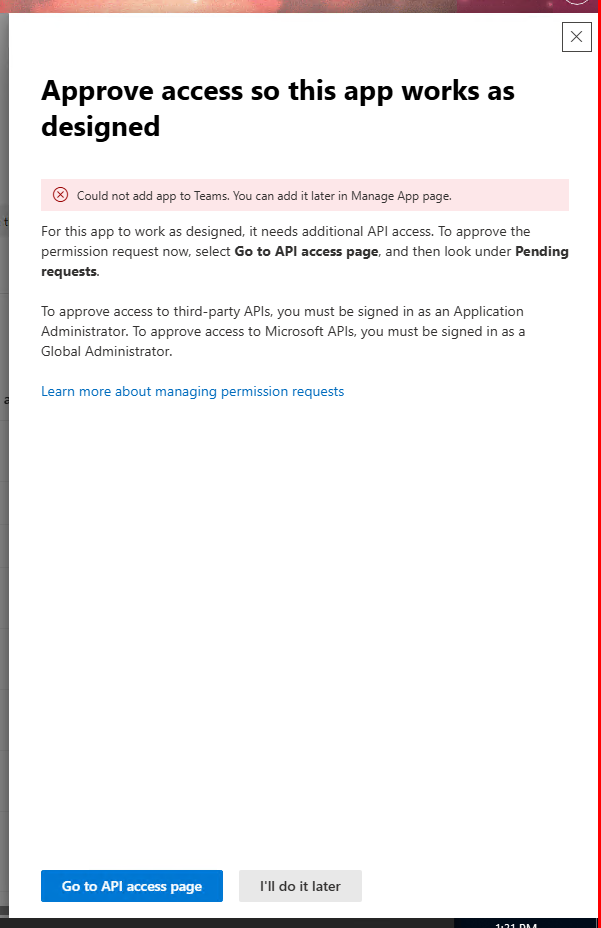
- Click “Go to API access page”
- Individually click each DynamicPoint Portal V2 Web Api pending request and click the approve button at top. Only one permission request can be approved at a time.
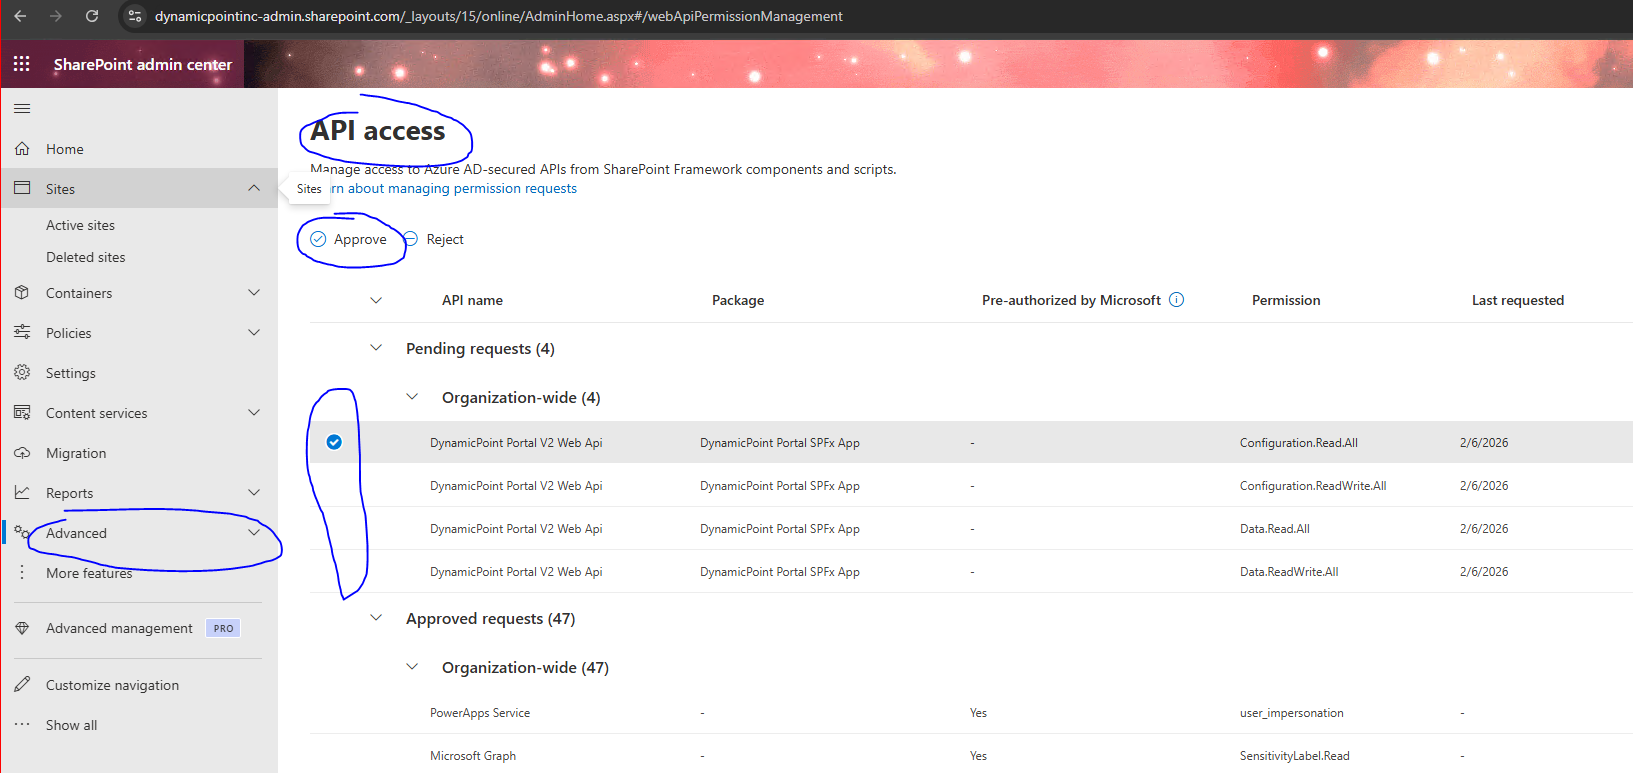
- Upon approving each permission, the following dialog will appear.

- Click approve and go on to the next one, until all four are complete.
This completes the deployed of the DynamicPoint portal web part application!