1 Overview
DynamicPoint applications will require access to SharePoint to perform such actions as saving data and querying user information. The process involves several steps of creating an app registration in Azure, configuring it with a cert and configuring the tenant in DynamicPoint Tenant Admin application to use this app registration and cert.
2 Azure Active Directory
Create app-registration in Azure
App Registration
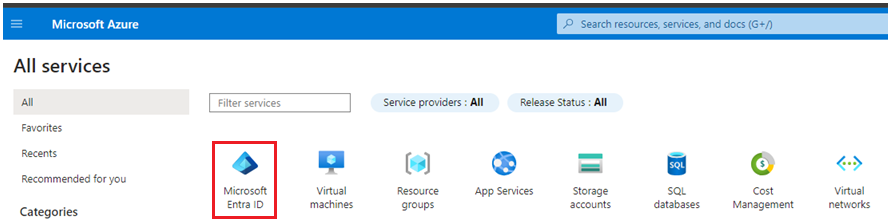
- Go to portal.azure.com and click on Microsoft Entra ID:
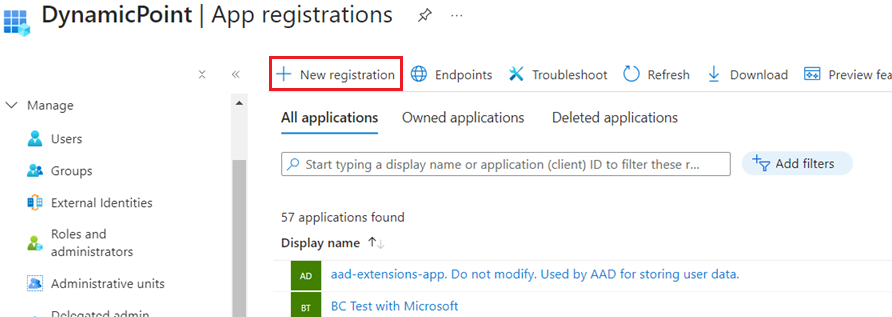
- From the left menu navigate to App Registrations:

- Click on New Registration:
- On the following screen specify a name for the app registration and leave the rest of the settings to their defaults:
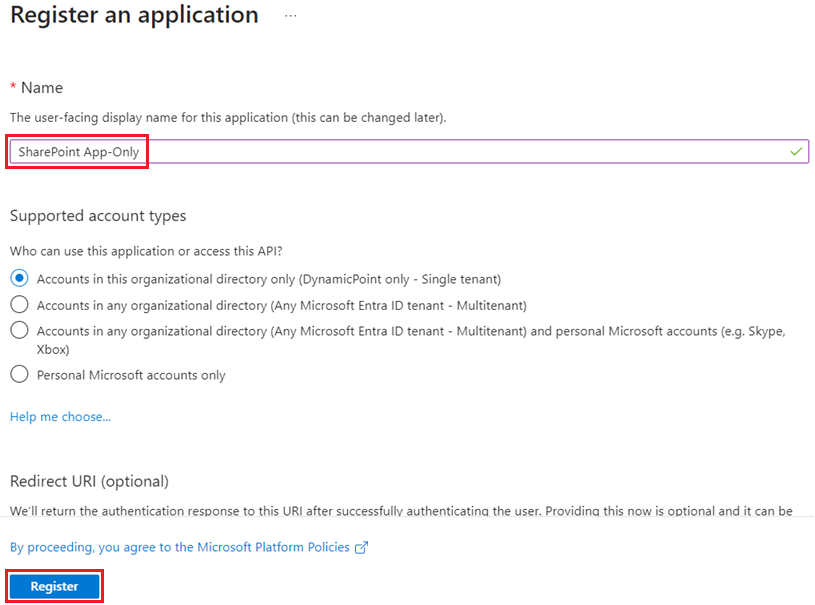
- At the bottom of the screen click the Register button.
Configure App Registration
Now we have the app registration created, we need to configure the permissions which it will allow to DynamicPoint applications.
- Click on API permissions and the following screen will be displayed:
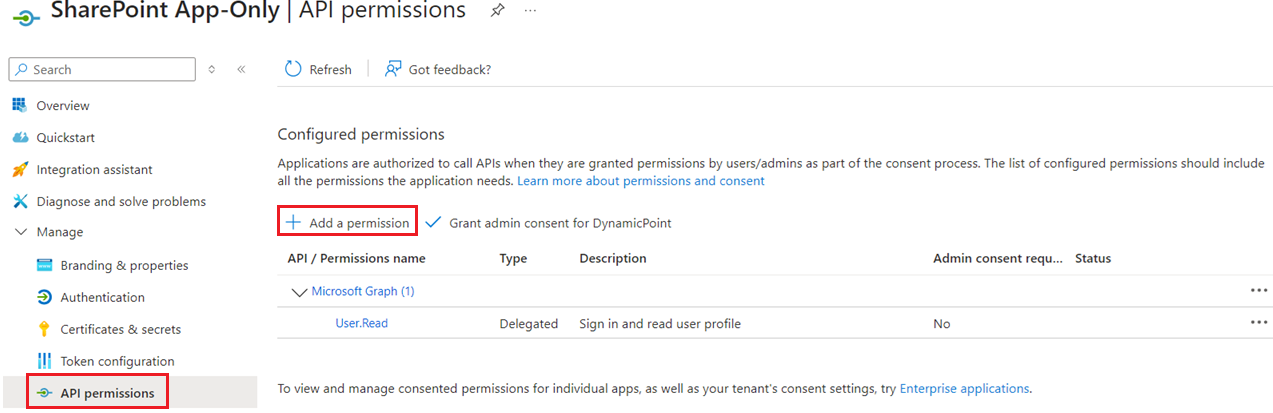
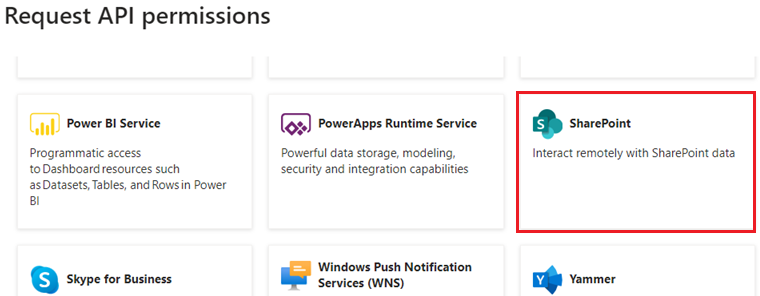
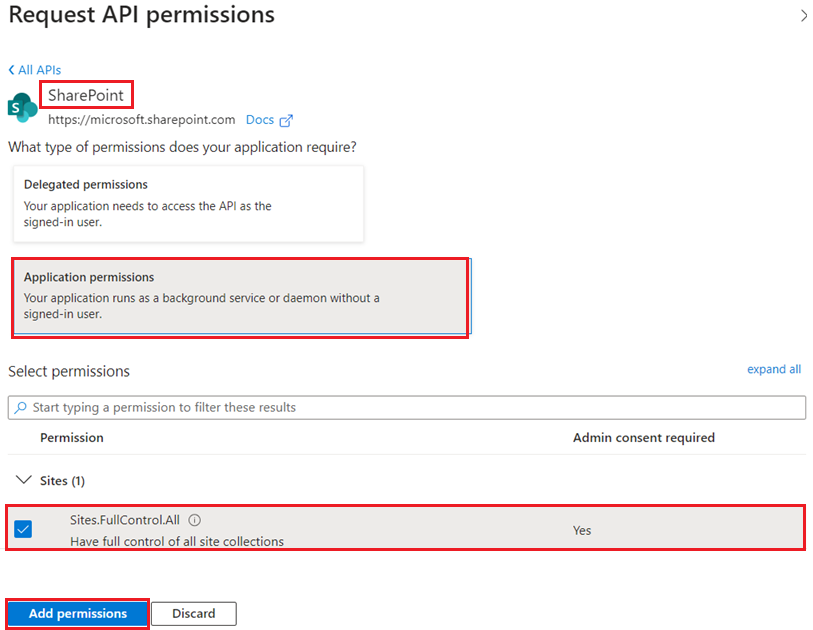
- By default, Microsoft Graph permissions will be added, leave them as they are. Next, click the Add a permission button, search for SharePoint in the list of applications:
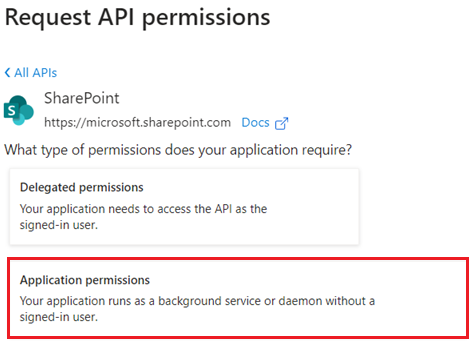
- Select Application permissions:
- Select the following permissions:
– Site.Manage.All
– User.Read.All
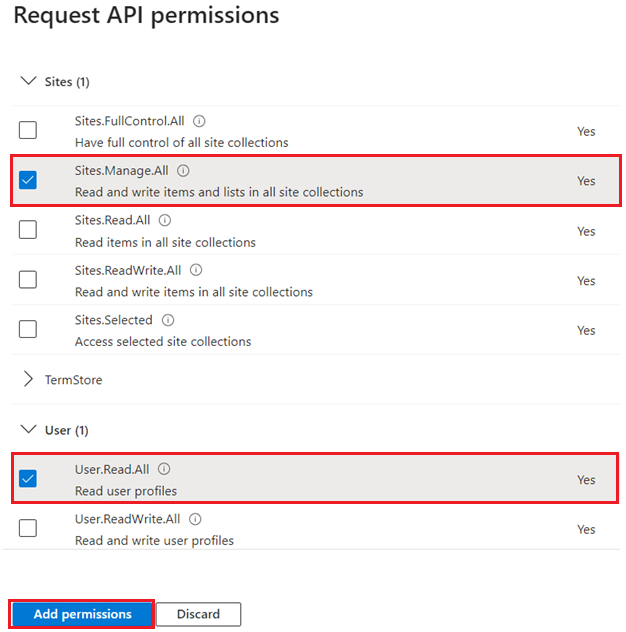
- Click add permissions
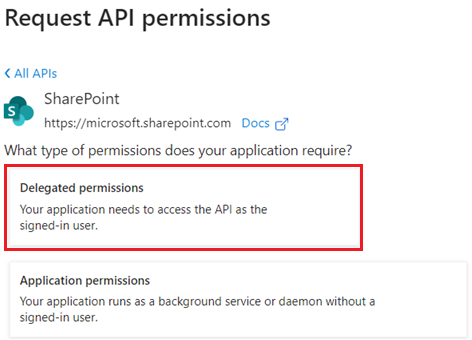
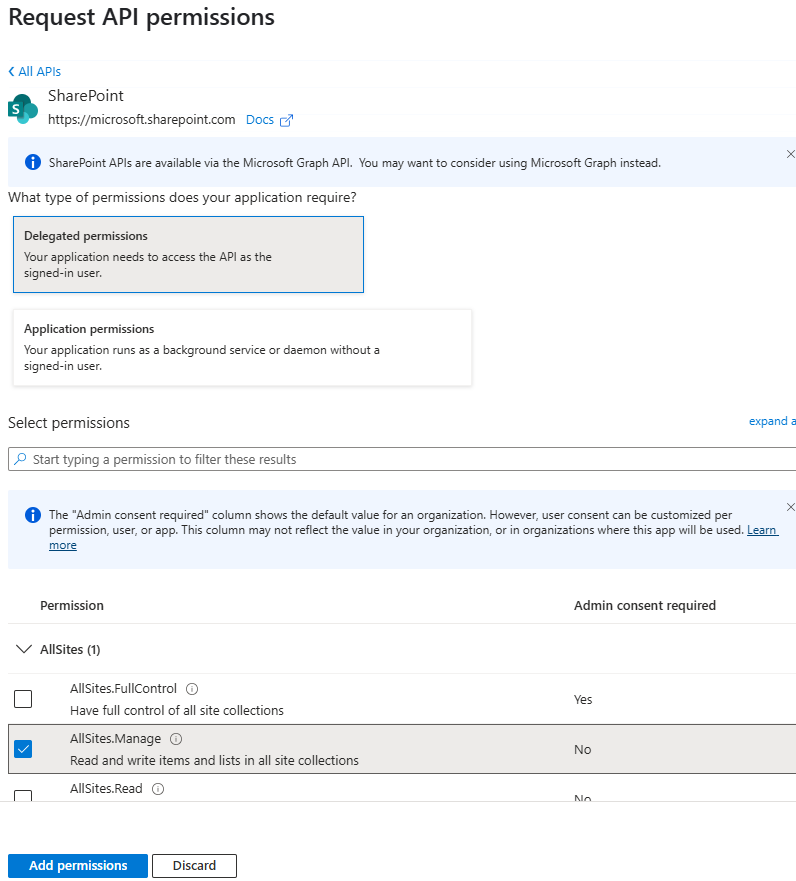
- Next, click add permissions again and chose SharePoint, but this time select Delegated permissions
- Select the following permissions:
– AllSites -> AllSites.Write
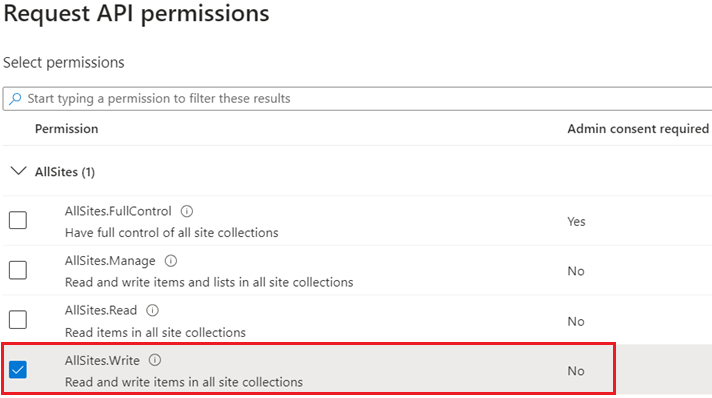
– User -> User.Read.All
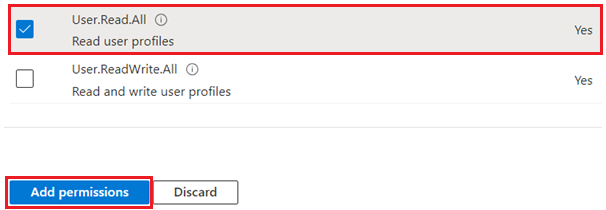
- Once you are finished click Add permissions button at the bottom.
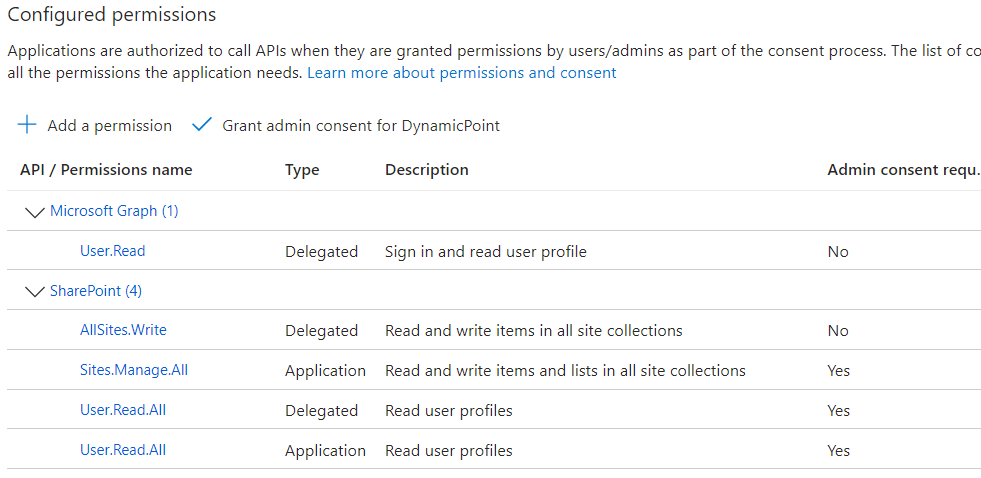
- The resulting permissions should look as follows:
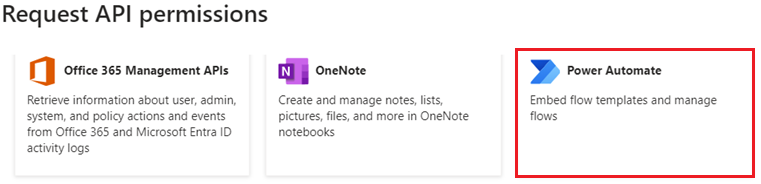
- If you are deploying either EasyAP365 or EasyEXP365, additional security is needed. Please configure the following permissions for these applications.
Power Automate
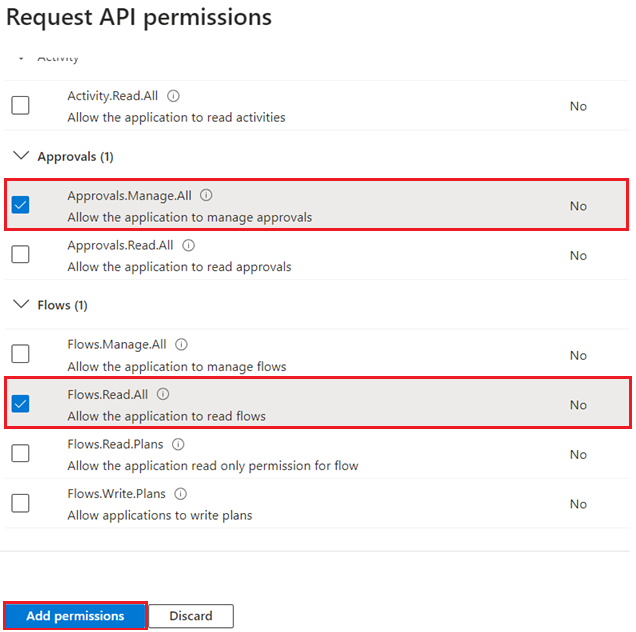
- Be sure to Grant Admin consent by clicking on the button
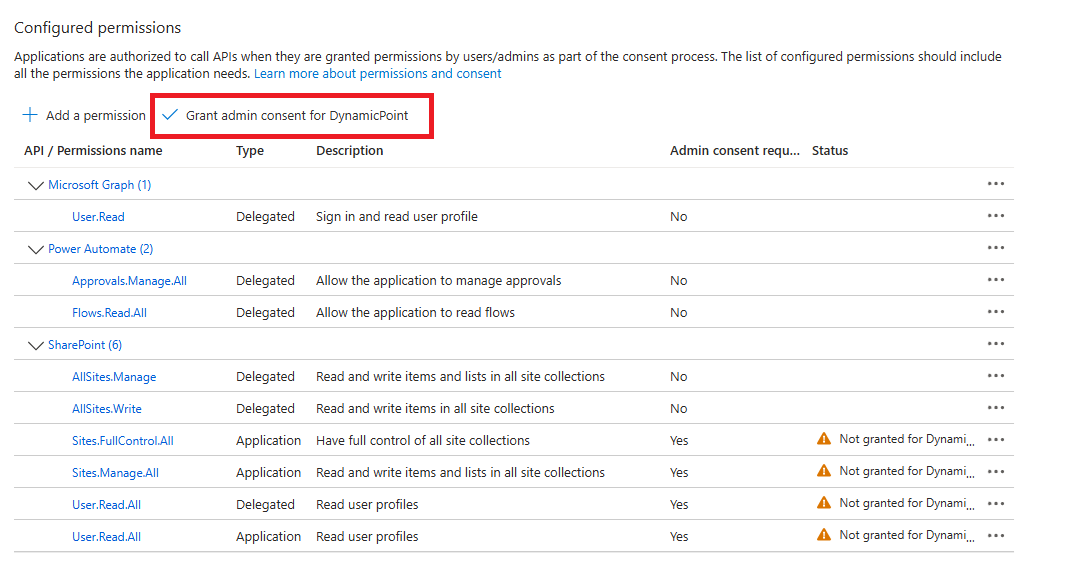
Note: If you don’t want to grant the Sites.FullControl.All permission, an alternative approach is defined here.
Redirect
- Click on Overview
- Click on Redirect URIs:

- Select Add a Platform

- Select Web
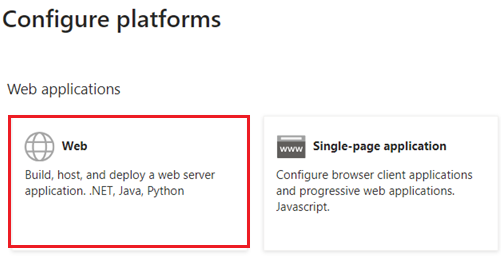
- Add the URL of the application being installed:
Portal: https://portal.dynamicpoint.com
EasyAP365: https://easyap365.dynamicpoint.com
(if migrating, add https://ap.dynamicpoint.com also)
EasyEXP365: https://easyexp365.dynamicpoint.com
(if migrating, add https://expense.dynamicpoint.com also) - Ensure the ID tokens option is enabled

Certificate Configuration
Now we need to configure the cert.
- Either provide your own certificate or download the following cert.
- Click on Certificates and Secrets from the left menu and select the Upload Certificate button and use the dialog on the right to upload the certificate.
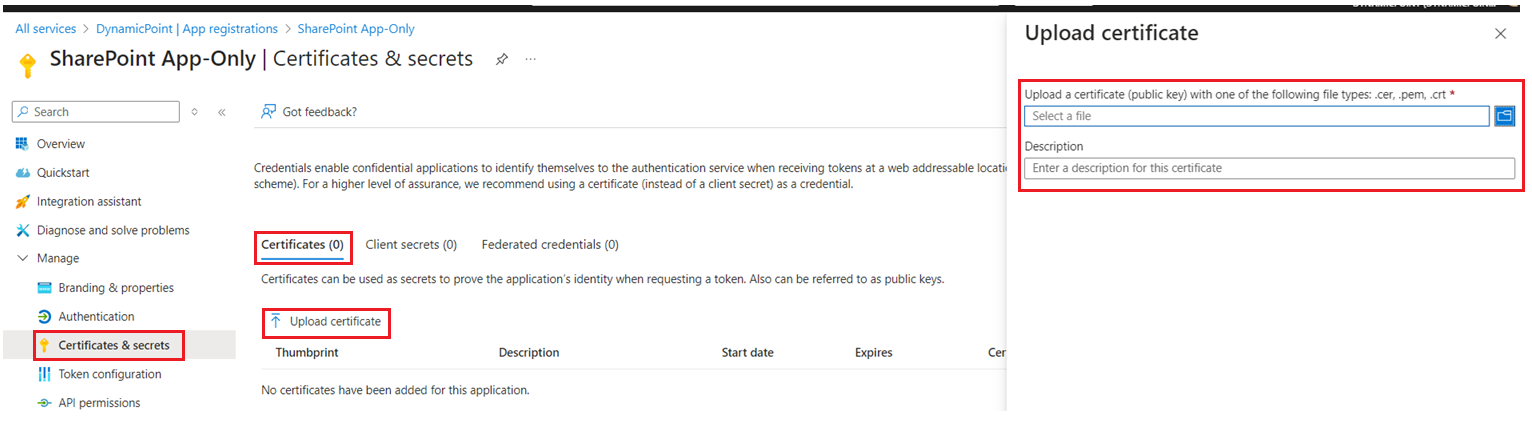
- Here you need to upload the .cer file of your certificate. Once uploaded, the certificate list should look similar to this:

- Submit your application and client ID to DynamicPoint via the following form for secure transmission.